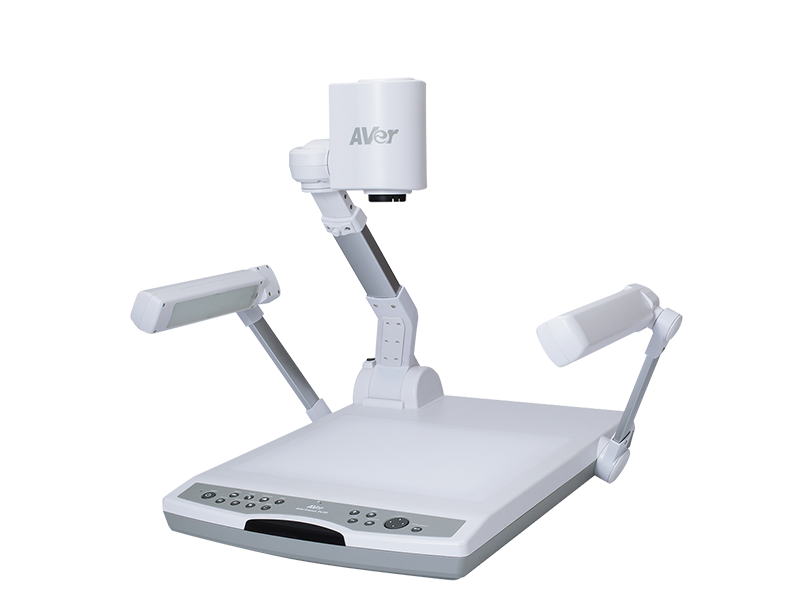
PL50 Document Camera Downloads
A+ Suite
- Download for :
- Windows
- Mac
- iPad
- Chromebook
- Android
New version:
- A+ Suite V2.7.2188.192 - Windows
- A+ Suite V2.7.2188.192 - Windows Server Deployment (Sphere2 Only MSI)
- Release Note
- What's New
Previous version:
- A+ Suite v2.7.2185.186 - Windows
- A+ Suite v2.7.2185.186 - Windows Server Deployment (Sphere2 Only MSI)
- A+ Suite v2.7.2178.179 - Windows
- A+ Suite v2.7.2178.179 - Windows Server Deployment (Sphere2 Only MSI)
New version:
- A+Suite (Mac) V2.5.2161.162 + Wifi dongle driver v5.0.8 - Mac
- MAC Office Add-ins Uninstaller - Mac
- Release Note
- What's New
- A+ Suite Office Addin Uninstaller for 2011
- A+ Suite Office Addin Uninstaller for 2016
- Mac Office Add-ins Uninstaller SOP
Previous version:
- A+ Suite V2.5.2154.155 - Mac
PL50 Document Camera FAQ
- Check all the connectors again as shown in this manual.
- Check the on/off switch of the display output device.
- Verify the setting of the display output device.
- If you are presenting from a notebook or computer through the display output device, check the cable connection from computer RGB (VGA) output to RGB input of AVerVision PL50 and make sure AVerVision PL50 is in PC Mode.
- For HDMI display output, a delay occurs while waiting for both the display device and AVerVision PL50 to sync up. Wait for around 4 to 7 seconds until you see the camera image on the screen.
- The unit POWER button turns orange in standby mode. Press the POWER button again to turn on and the LED light will turn blue.
- The default camera display resolution setting is on 1024x768. If your output device does not support this resolution; no image can be projected. Simply press hold the FREEZE and ► button to the change the resolution setting.
- If your display output device is on TV or any analog device, please switch the TV-RGB dip switch to TV.
- Reset all changed settings, if any, to the original manufacturer default setting. Press DEFAULT on the remote or select Default in Basic tab OSD menu.
- Use the Brightness and Contrast menu functions to reduce the distortion if applicable.
- If you discover that the image is blurry or out of focus, press the Auto Focus button on the control panel or remote control.
- Check all the cable connections among the display device, AVerVision PL50 and your PC.
- Connect your PC to the AVerVision PL50 first before you power on your computer.
- For notebook, repeatedly press FN+F5/F8 to toggles between display modes and display the computer image on the presentation screen. For different command, please refer to your laptop manual.
- Return to your PC or Notebook, place the mouse on the desktop and right click, choose "Properties", choose "Setting" tab, click on "2" monitor and check the box "Extend my Windows desktop onto this monitor".
- Then go back one more time to your PC or Notebook and place the mouse on the desktop and right click again.
- This time choose "Graphics Options", then "Output To", then "Intel® Dual Display Clone", and then choose "Monitor + Notebook".
- After you follow these steps, you should be able to see the same desktop image on your PC or Notebook as well as on the presentation screen.
- Check the USB switch on the rear panel is set to .
- Make sure the resolution setting is set to the annotation supported resolution setting of either 1024 x 768, 1280 x 720, or 1280 x 1024.
PL50 Troubleshooting (Advance)
This issue could be derived from Google Chrome's WebUSB API. Which is on by default for older versions of Chrome. Google has since updated the Chrome browser to disable this API for the newest release. With the older browser, this issue happens in the situation where the user didn’t close the chrome browser before plugging-in the camera. When Chrome is open, it will automatically try to find a driver for our doc cam online. Therefore, interrupting the default driver that is already loaded by our software. The issue results in camera sometimes connecting, sometimes not. Therefore upgrading your Chrome browser should technically resolve this issue. If still have issues, please make sure no other application is accessing the camera on your laptop. Applications such as Skype, Hangout, Adobe Connect, can lock up the camera when it’s executed in the background.
If you have a MacBook (Standard & Air), try the following steps:
- Disconnect the USB cable from your MacBook.
- Restart the MacBook.
- Download/Install the latest A+ Suite Version from here
- Launch Sphere2 software.
- Connect USB cable from your AVer camera to the MacBook again.
If you still have issues, please contact AVer tech support for a more in depth look at what could be causing the problem.